Doing the unthinkable - Modding my laptop
Page may take a while to load, contains a lot of images.
Warning
This page details procedures that are hazardous to the welfare of laptops. Do not attempt to copy my example, you will not only invalidate any warranty on your laptop (and other parts), the manufacturer will very likely just laugh at you if anything goes wrong. Furthermore this procedure involves soldering and desoldering components to/from the laptop motherboard. Laptop motherboards are multi-layered - the tracks don't just run across the top and bottom, but on several layers, this is not a simple crystal radio set, if you do not know 172.53% what you are doing you will very likely end up owning a very expensive brick/doorstop. Don't do it unless you're prepared to... no, just dont do it full stop. You have been warned, I will not take ANY responsibility for your own actions.
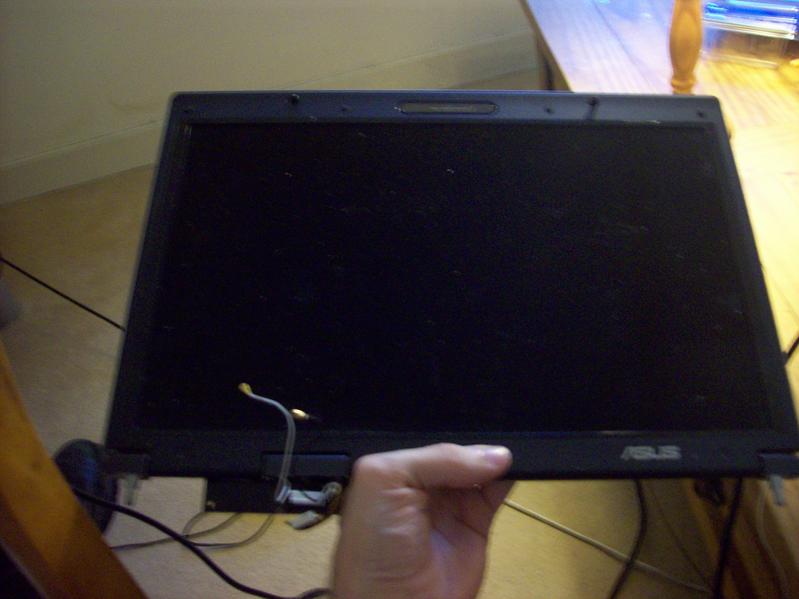
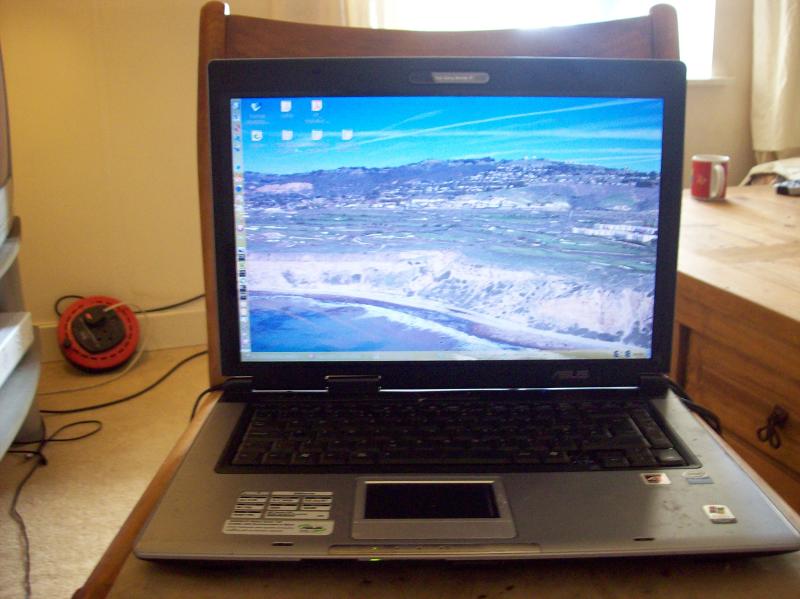
So what's this about? Well I got my Asus X50R and was so excited I wiped off windows and installed debian. Everything went smoothly, although there were some driver issues:
- Radeon express 200M worked ok with the stock driver, but better performance was experienced by downloading the fglrx accelerated driver from ATI
- The wired lan (Attansic L2) won't work with any of the stock drivers because apparently attansic didn't bother to submit the drivers for this model (although the L1 10/100/1000 model driver appears in the kernel). However, if you can find the attansic driver source (It's not easy to find, and they've moved it since I downloaded it last), it will work a treat
- The sound card has an Intel HD, this threw me when I recompiled the kernel, because lspci shows it up as an ATI soundcard (which seems reasonable since the laptop has an ATI chipset). Use the right driver and it will work fine.
- Atheros WIFI. Hmm, where to begin... there simply does not seem to be a working driver out there that supports the wireless card for this machine under debian. Yes i've tried madwifi, yes i've looked into ath5k, it's not anywhere to be seen (madwifi.org have mentioned this card, but it is a completely different class of card to the others they support).
So my troubles began with the wifi, I gave up getting a driver to work for that, instead opting to take the easier route of buying a cheap Netgear WG111 USB wifi card. I should note however, that I could only get this working by using a windows driver under ndiswrapper. I expect better support for this card will turn up soon however. However, it does work pretty well.
Due to a bit of heavy handling by myself, and constant attacks by a kitten, the usb wifi card has got a bit damaged over time - specifically the usb plug was at one point bent 45 degrees out of its natural alignment. I have done numerous repairs to it, resoldering the plug, however I figured that this could not go on forever as repeated soldering would ruin the tracks. So I had to make a decision... do I take the plug off and fit a usb cable to it (the easy, sensible solution)? or do I do the unthinkable - void any possibility of a warranty on my laptop and somehow mount the wifi inside my laptop?
6 hours of laptop modding, and 12 cups of coffee begins...
Update - Some people have asked why I bothered doing this when it would have been easier to replace the existing mini-pci wifi card. Well the fact is I am cheap/skint, and opted to use parts I already had on hand rather than buy new bits, I originally went for usb wifi over a new mini-pci for the same reason - the usb version is a LOT cheaper. Oh yes, and I was bored
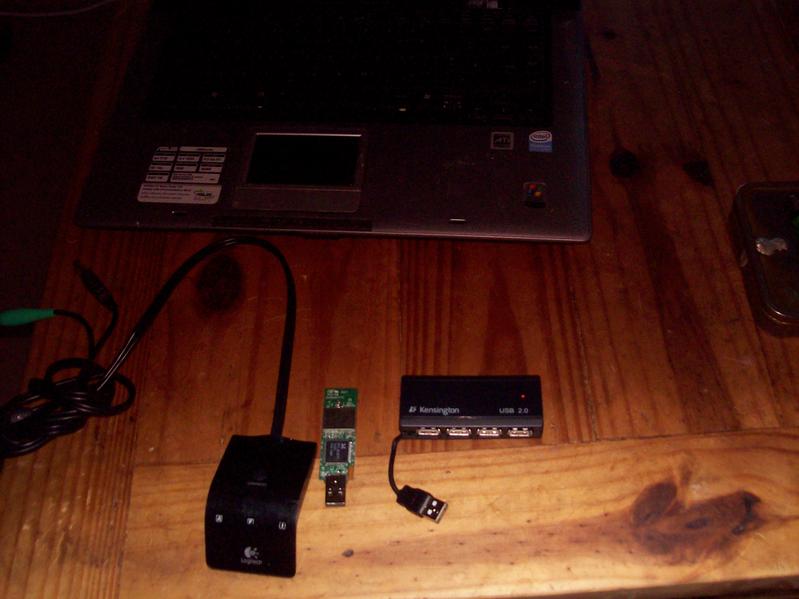
- Back - laptop
- left - wireless keyboard/mouse adapter (long story saved for another time)
- middle - USB wifi card with case removed
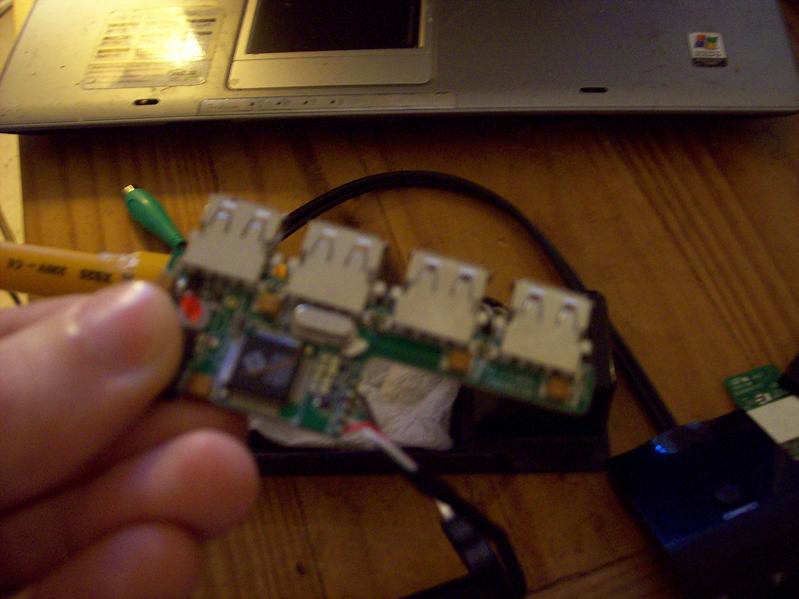
- right - Mini usb hub. I got this for 2 reasons, firstly I was hoping to integrate the wireless kb adapter into the laptop as well, but ditched this half way through as I couldnt find any space to implant it. Secondly I wanted to keep some options open for future expansion.
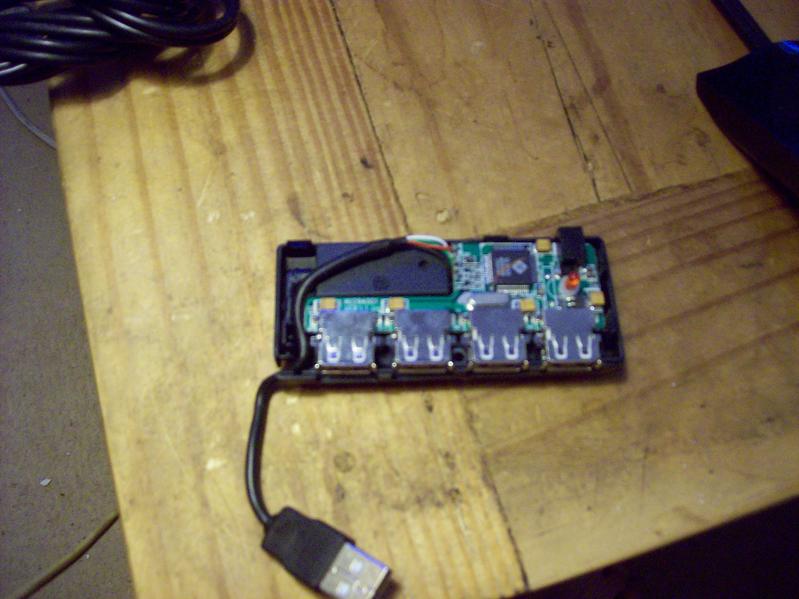
The usb hub with its casing half removed - its pretty tiny and should do nicely, however I need to lower the profile a bit.
The circuitry pops easily out of the housing.
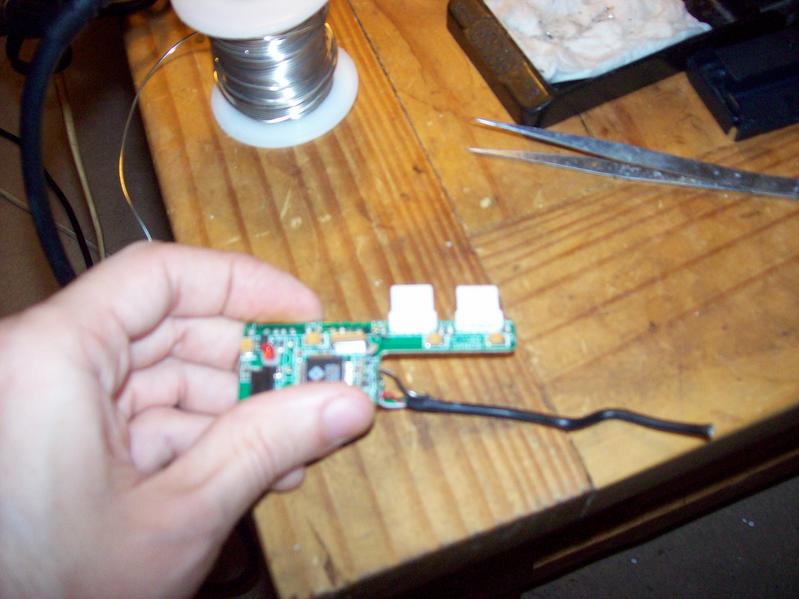
Removing the usb sockets
I found the easiest way to remove these sockets was to first remove the metal shield, carefully bend the sockets up 90 degrees and tease the plastic up and out of the pins. It was then a case of unsoldering the individual pins. This of course destroys the usb sockets, but I didnt have any use for them and was a better option that potentially destroying the usb hub
The shield and plastic has been removed from this socket, just the pins remain.
Finally all the sockets have been removed. I have left the usb cable in place as I will use this to attach to one of the motherboards usb sockets.
Given that laptops have so many screws, I find an easy way to remember what screws go where, is to selotape the screws to the part they were holding in place. This also prevents loss of screws during a kitten attack.

Bottom of laptop removed
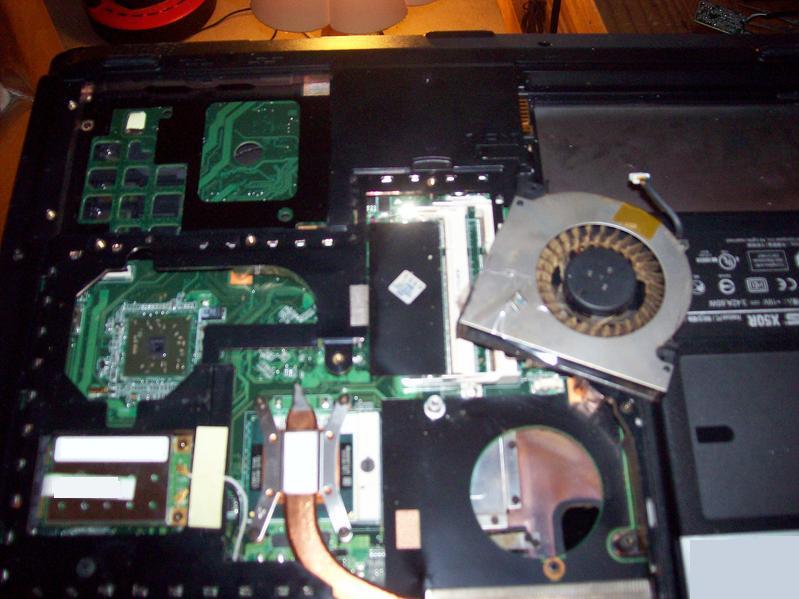
Hard disk, battery, memory and cpu fan removed
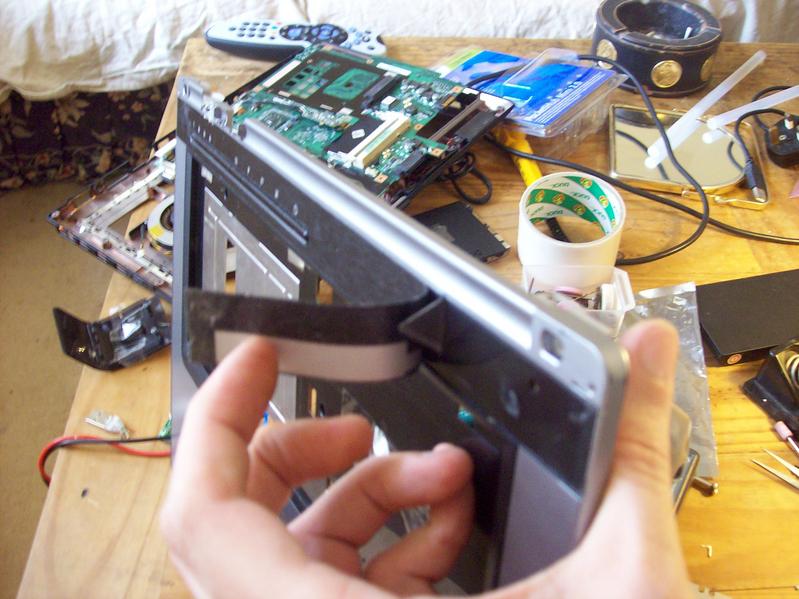
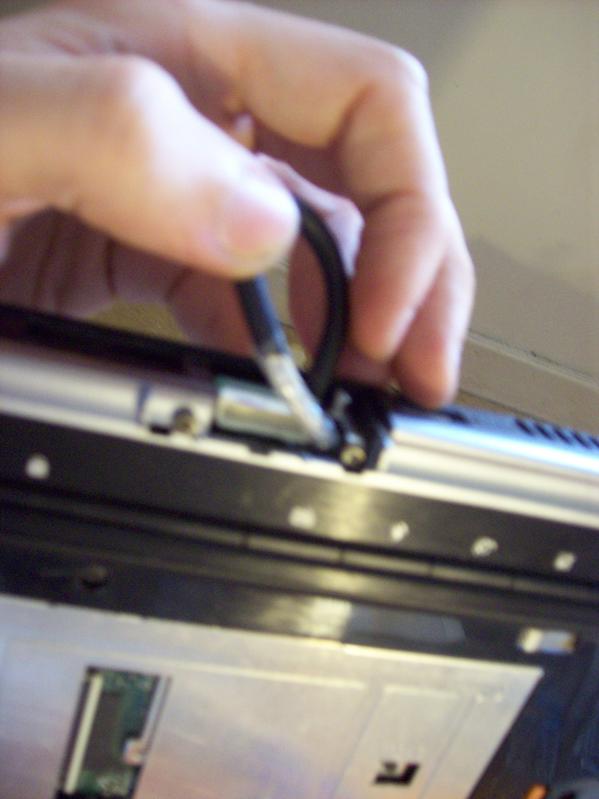
The antenna for the internal wireless card are in the screen housing, so these should be unplugged before removing the screen. The card itself can stay in place
Removing the screen involves removing 2 screws on the bottom of the laptop, and also this little flap at the back that channels the wiring. The wires are plugged into the motherboard and need to be gently teased out. Also a few ground wires are screwed to the metal chassis.
Some wires removed
The screen comes out easily after that. It was then placed inside a drawer that was safe from kitten attack.
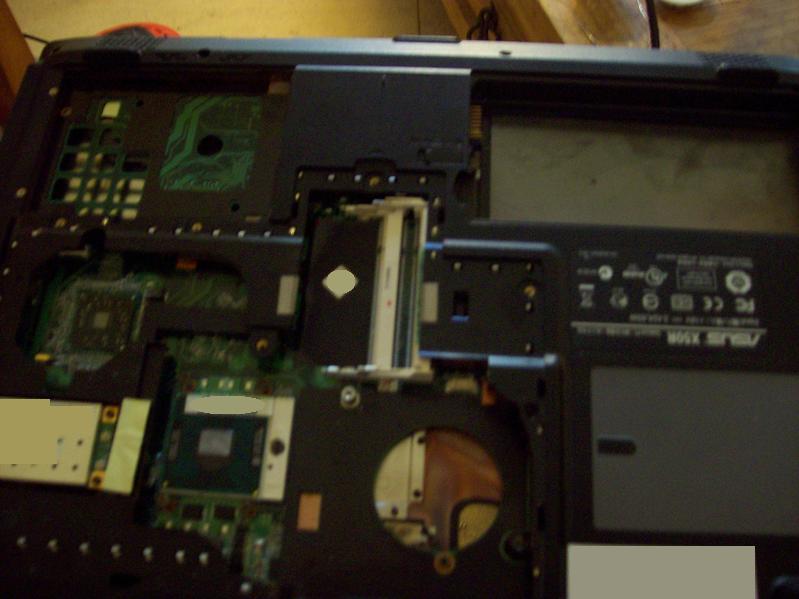
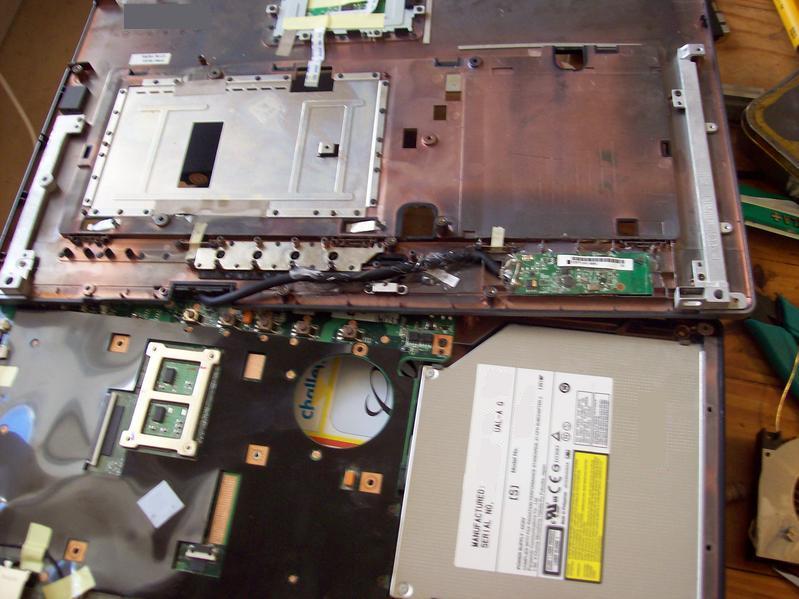
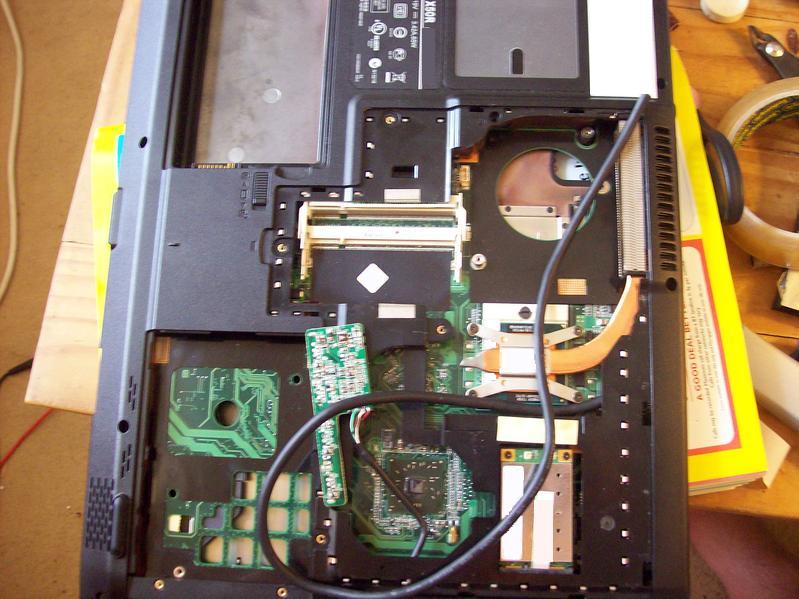
Everything is removed from the bottom that needs to be removed now. I left the cpu in place since it is less likely to be damaged if it's left there.
Also there are several screws that need to be removed in order to remove the upper part of the laptop

Upper casing removed (I also had to remove the keyboard and 5 screws underneath the keyboard to get the top off
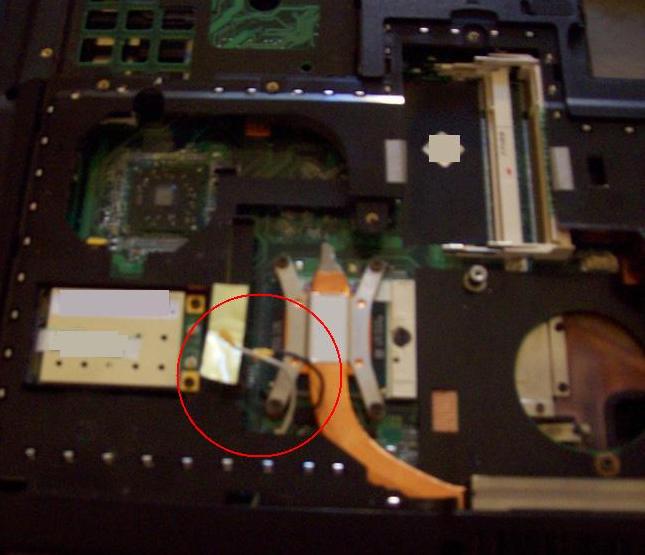
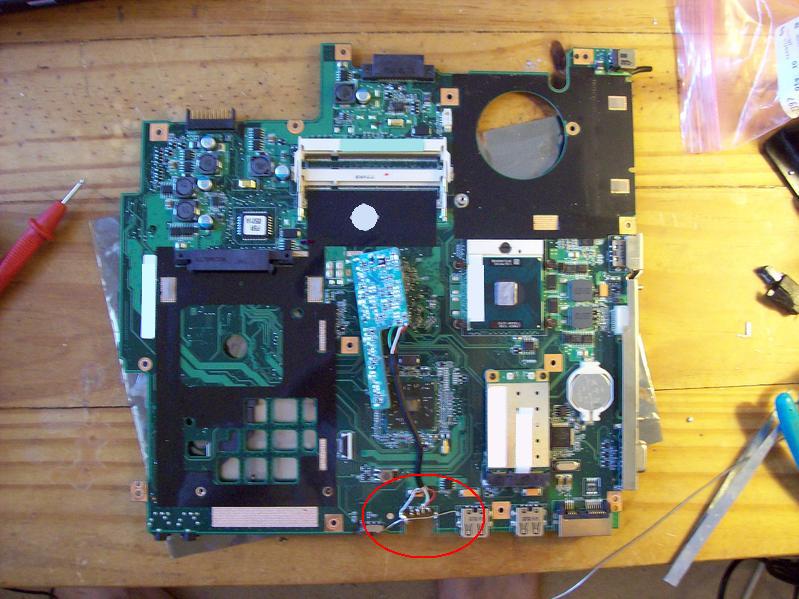
To remove the board from the casing completely, there are a number of screws that need to be removed (circled) - note: not all the screws are marked here, just the ones I could find in the picture
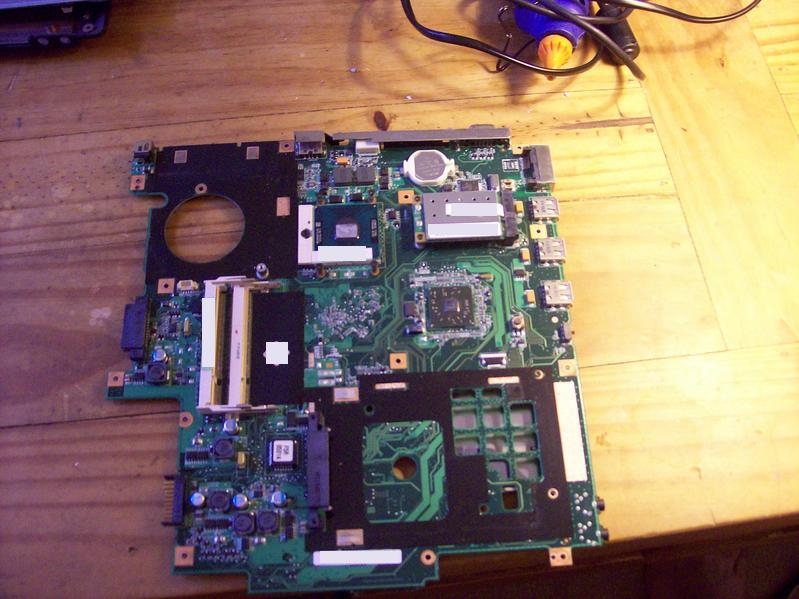
The complete motherboard removed from the case.
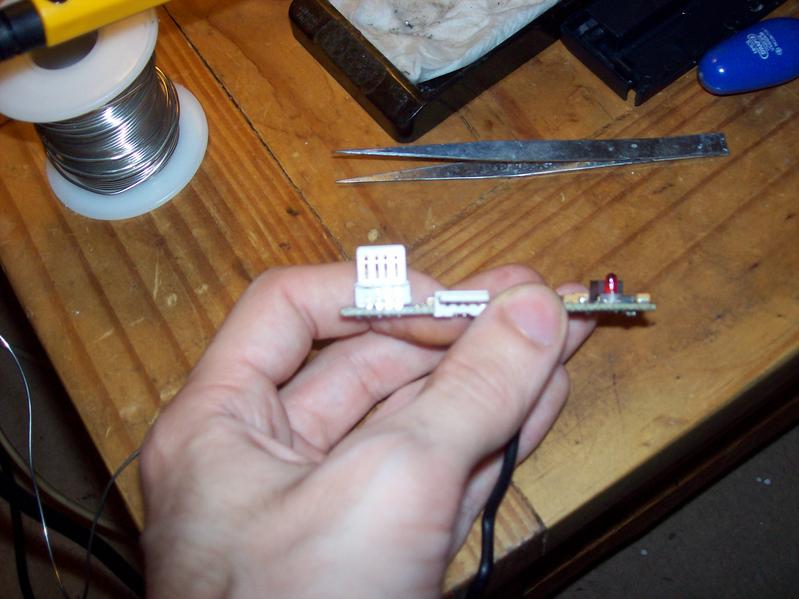
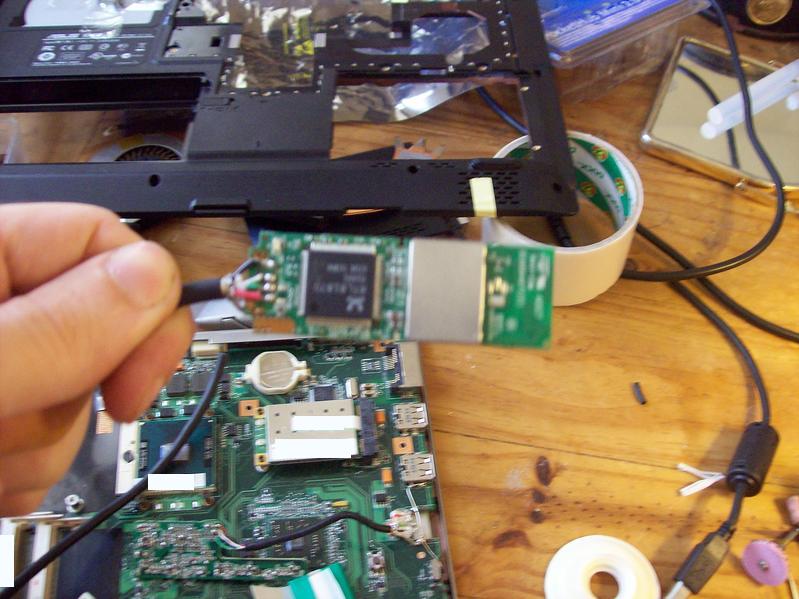
I shall now attempt to connect the usb hub to the motherboard.
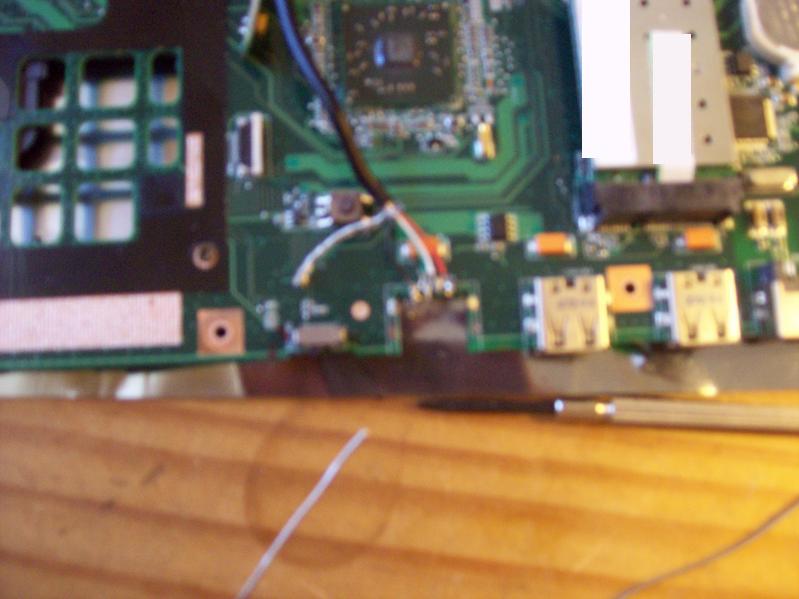
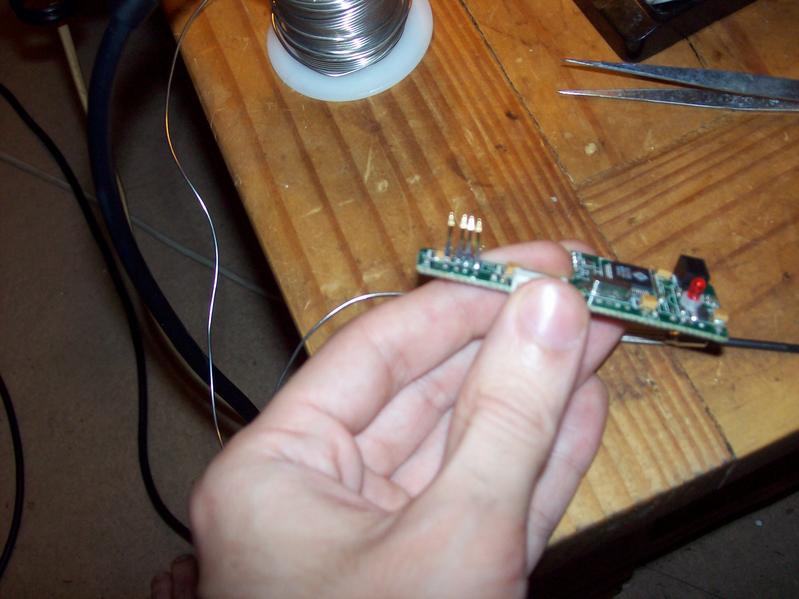
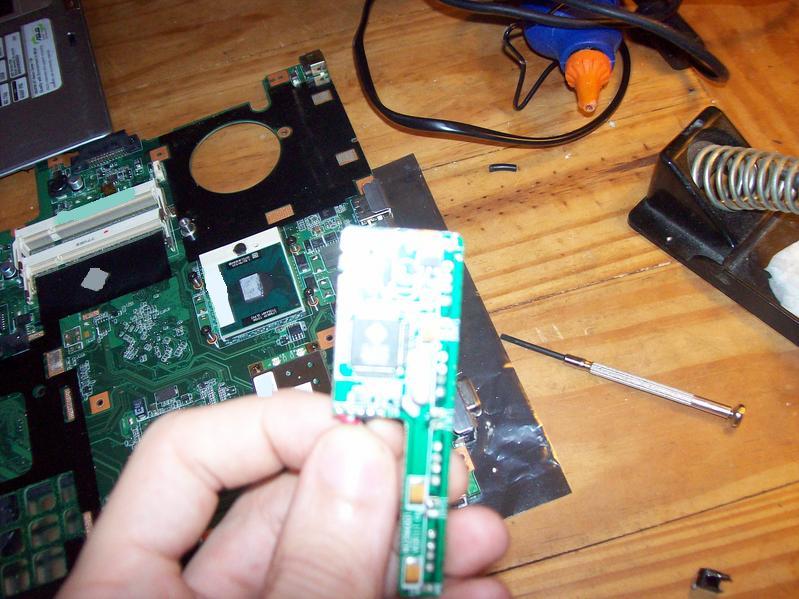
I was hoping to save all the USB sockets, however because of the compact nature of the laptop, I had to completely remove the socket. To avoid dealing with mult-layered soldering, I cut the socket pins so that a few mm of the pins was left sticking out of the motherboard, I could then solder the wires to the usb hub directly to the pins/stubs
A view from a different angle. Note that I cocked up a bit when removing the socket and broke the ground track seems to go around the edge of the board. To avoid any problems, I bridged the gap with a piece of wire.
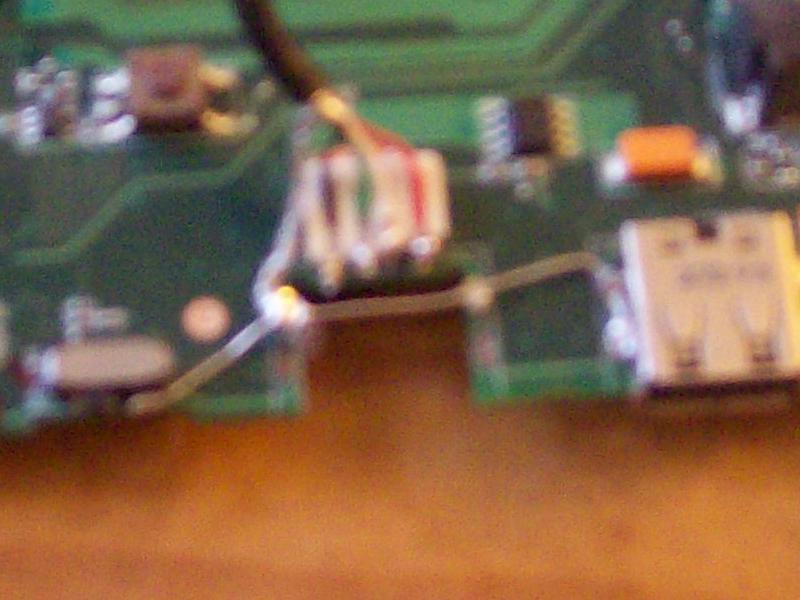
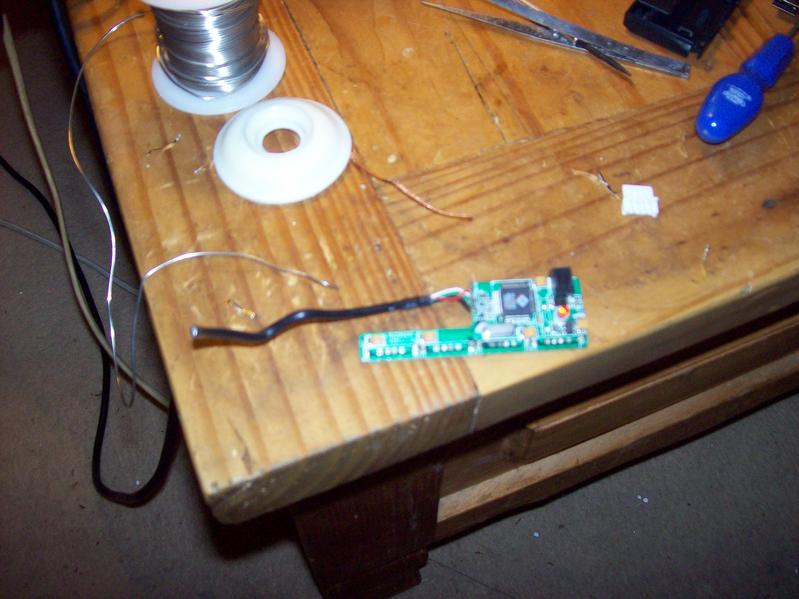
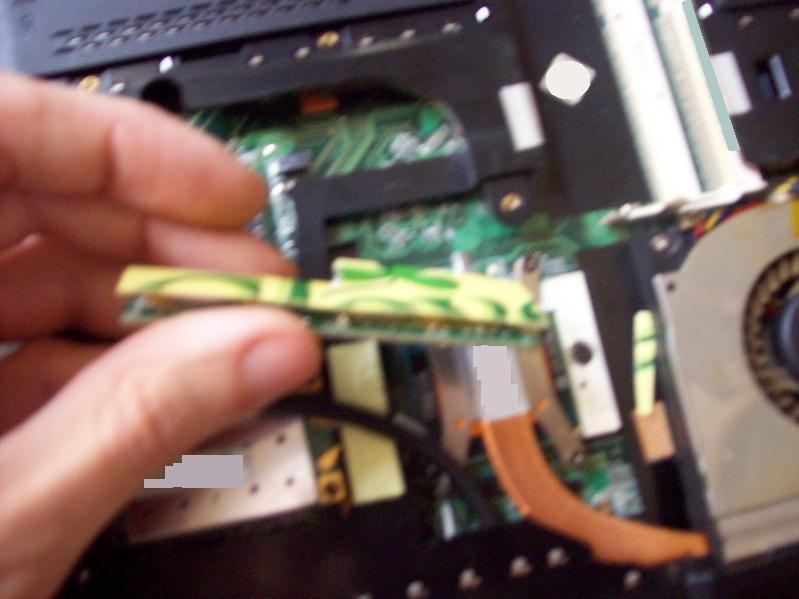
A (blurry) closeup of the modified socket. I have used one of the discarded usb sockets, cut it down to size and used it to channel the wires so that they do not come into contact with each other. After this the whole assembly was glued using a hot-melt glue gun to ensure that nothing came out of place. It is now time to find a place to put the wifi card whilst the glue hardens.
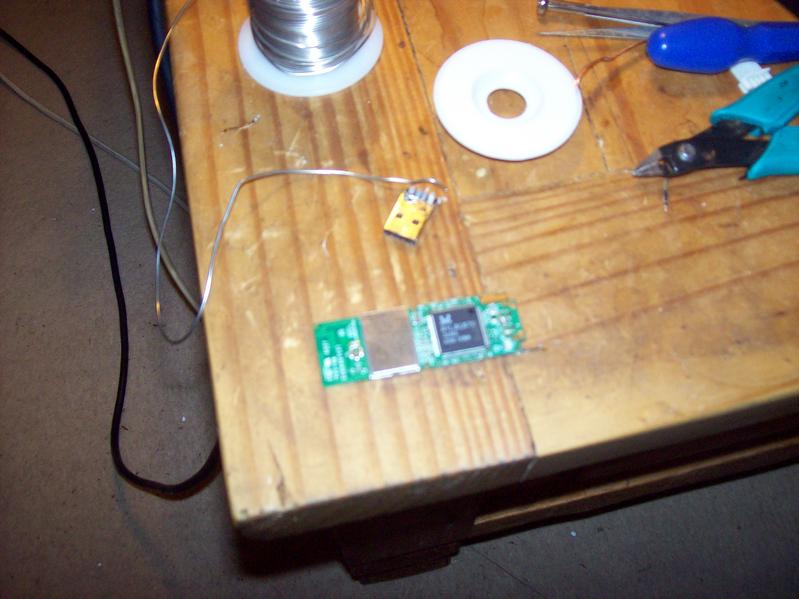
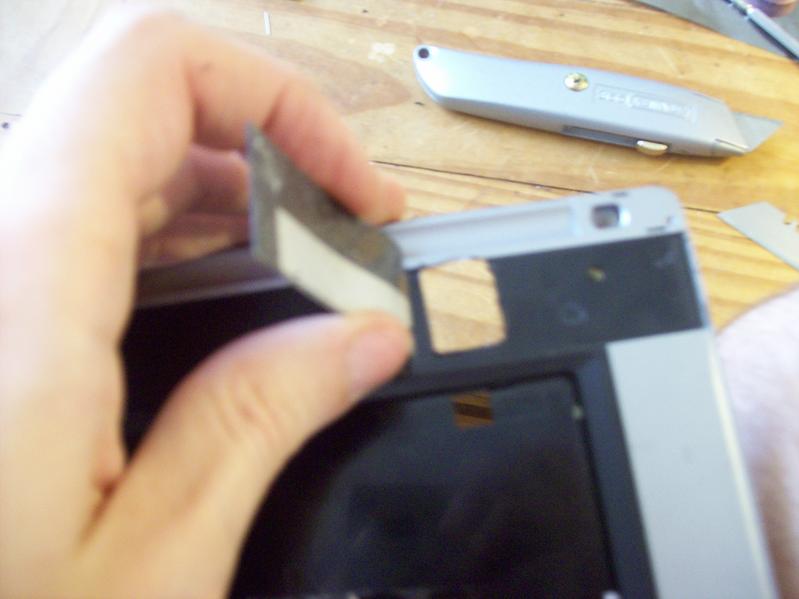
The usb wireless card with the plug removed
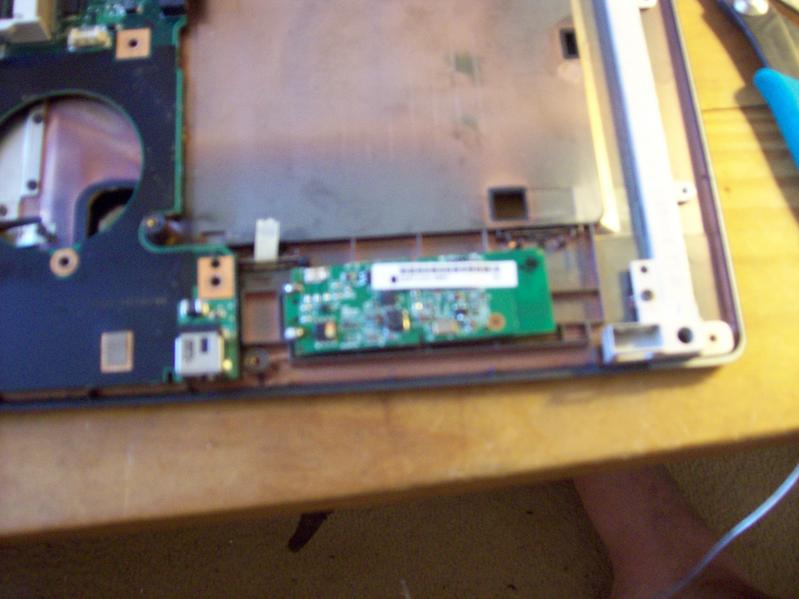
I found this spot on the case top that lies just above the cd-rom. It is an almost perfect fit! All I need to do is remove the support struts
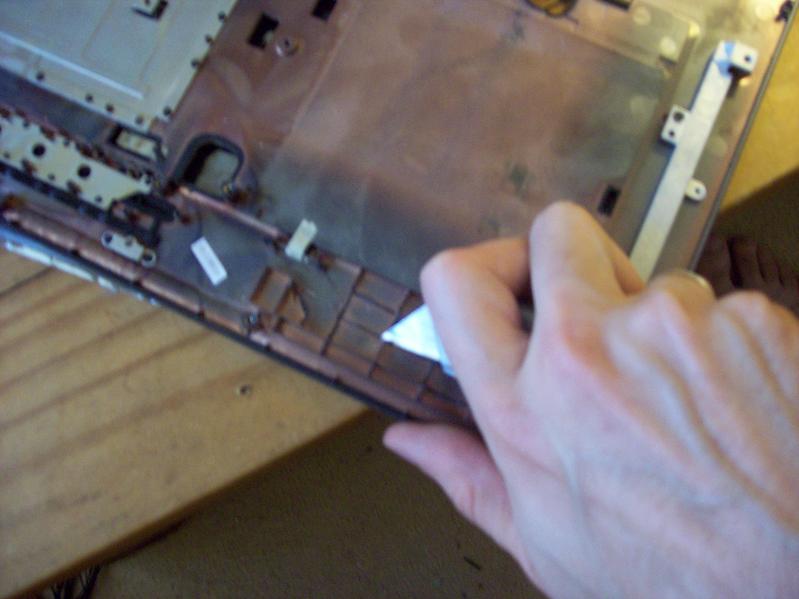
A dremel would have been a lot easier here, but my girlfriend was sleeping when I did this, so making a lot of noise was out of the question. A sharp knife was the next best option.
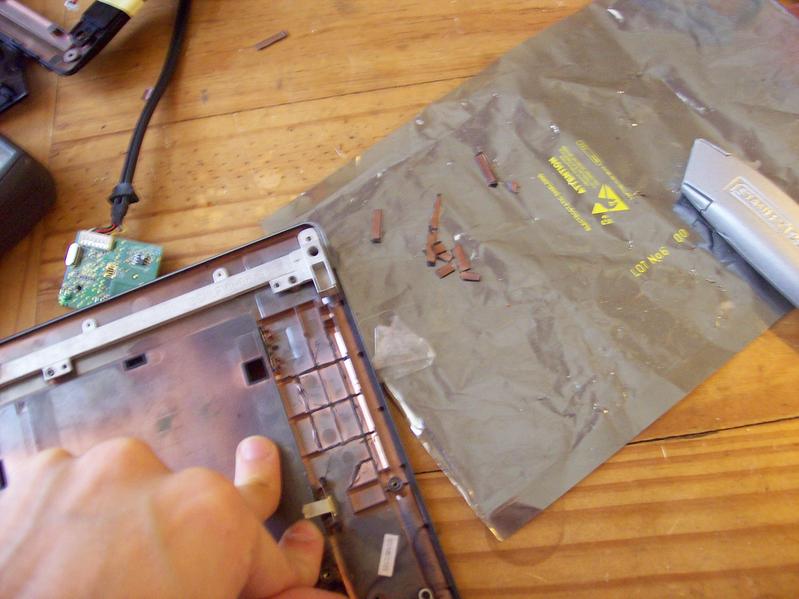
Support struts removed
Sizing the card for a good fit
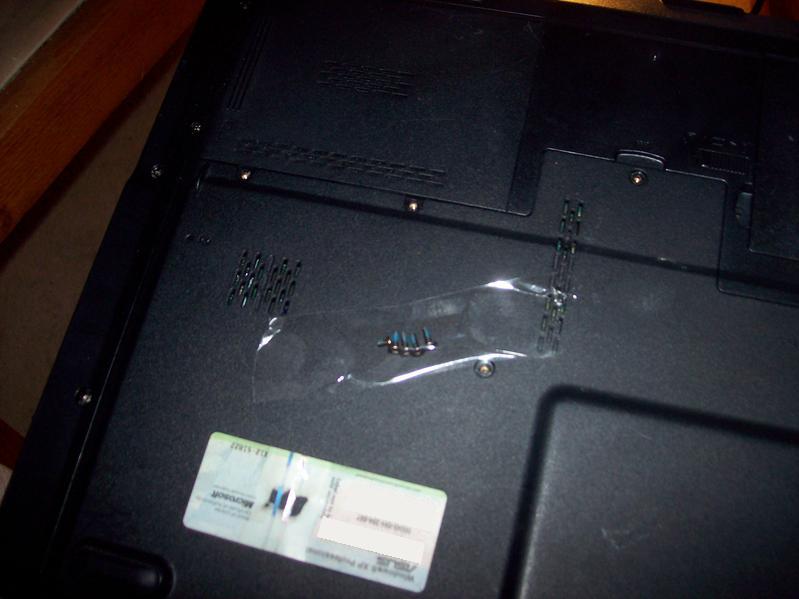
The next issue is that copper coloured stuff on the inside of the laptop. Checking with the mutlimeter it turns out to be conductive, in fact it probably is a thin layer of copper. This would effectively act as a faraday cage, preventing the wifi from getting a signal. My options were to cut a hole in the case or somehow build an antenna.
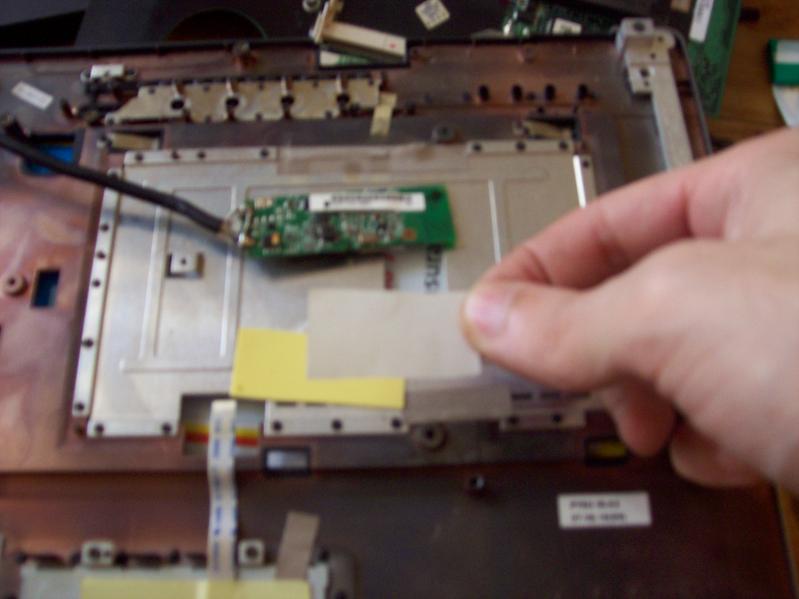
Ah yes, it just so happens that the spot over the cd-rom has a big plastic sticker over it that runs the width of the laptop. Using that sharp knife again, I chopped a hold in the case about the same area that the antenna on the wifi card covered.
The Finished hole. The sticker was placed back over, it looked like no hole had even been there
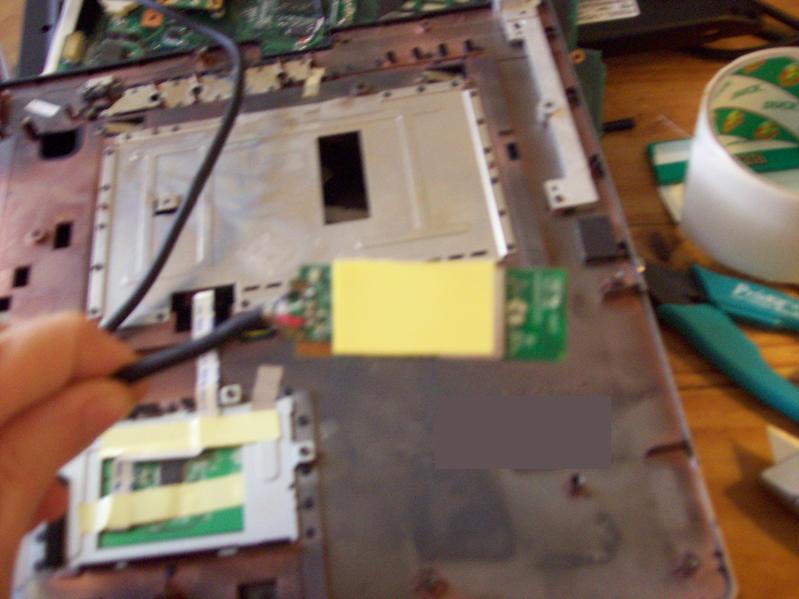
Here I have canibalised a usb cable to hook up the wifi card. Those of you familiar with the electronics of this card will notice that I have the green and white leads the wrong way round. This was not deliberate, in fact it was something I did not discover until I had put everything back together only to find it did not work. (yes you may laugh) and had to take it all apart again to swap the wires over.
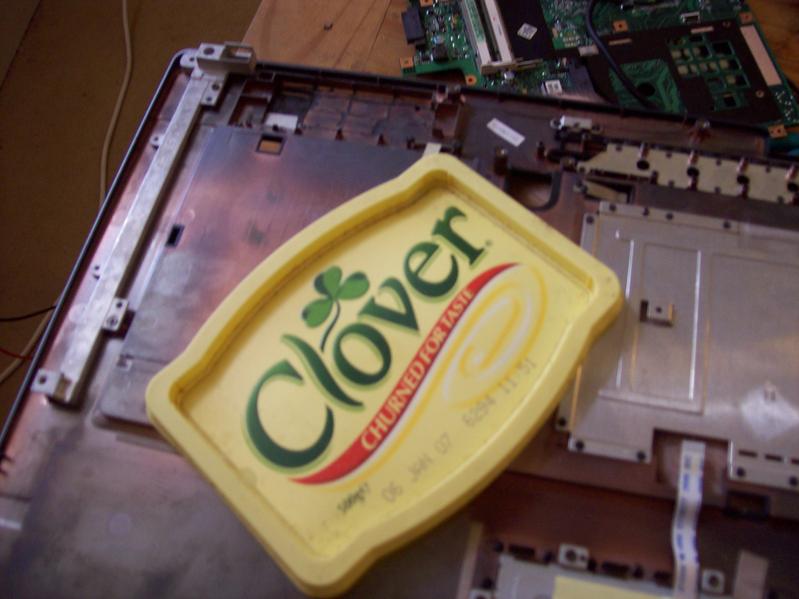
Now for my master plan to turn my laptop into a super hybrid of computer and margarine tub, I will cut up this lid with a pair of scissors (you may use a 2Kw laser cutting mill if you have one available) The purpose of this is to create insulating overlays for the circuits so that they do not short out on any metal bits.
This will be held on by a piece of double sided carpet tape cut the the correct size
Behold! it sticks!

Placing the card into the crevice I have created. To the left you will see a guest appearance by my foot.
The wifi card glued in place. I should also note at this point I have drilled a small hole in this part of the case exactly over where the little blue wifi activity light would sit. This allows me to see the status of the card when everything is back together.
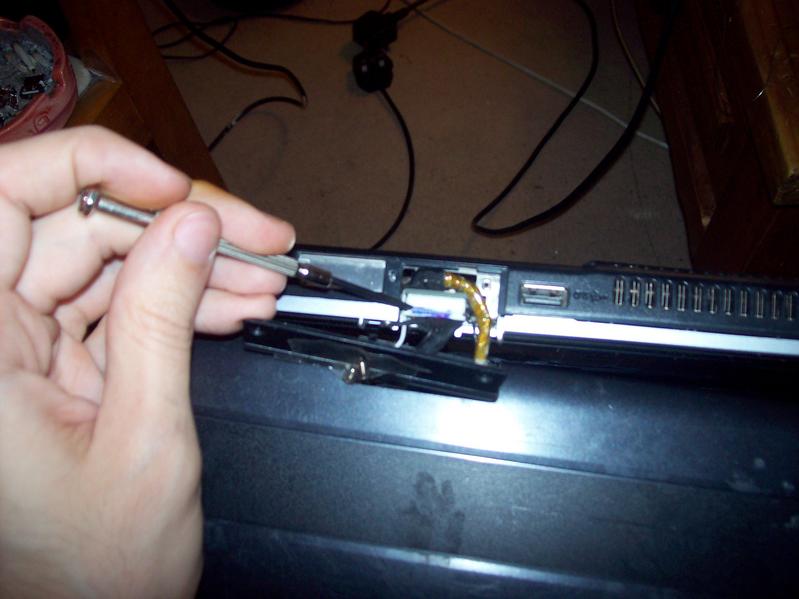
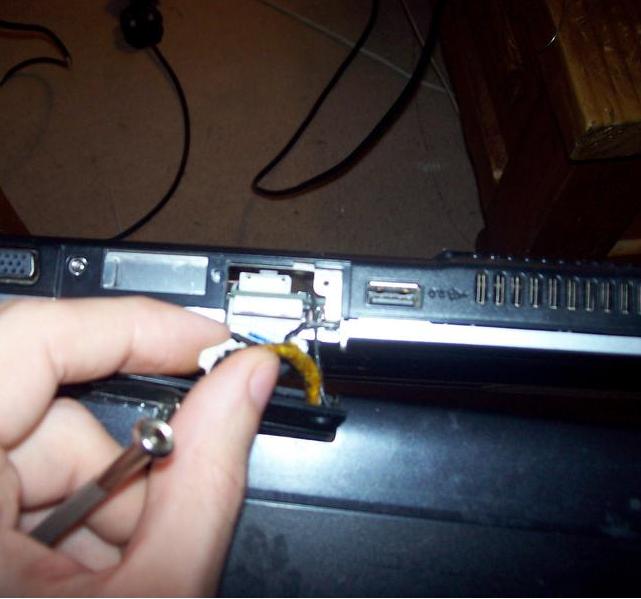
The best path for the cable I found was to go behind the power/quicklaunch buttons, then down through the recess the monitor cables connect through
After putting the laptop partway back together, it seemed the cable was just a bit too thick to pass through this recess. Removing part of the outer sheath, and wrapping some selotape around it made it thin enough to fit through.
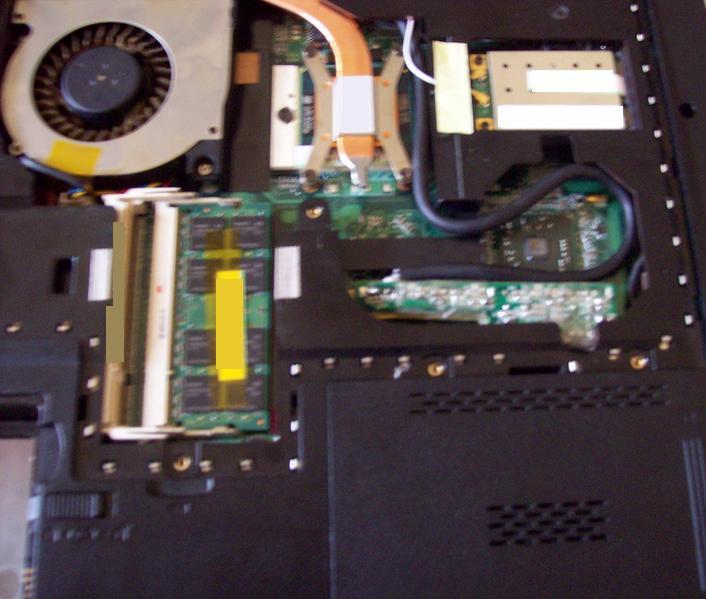
It's nearly all in place now. Usb hub in place, and a cable from the wifi is ready to hook up
Another piece of plastic used to create an insulating cover for the usb hub
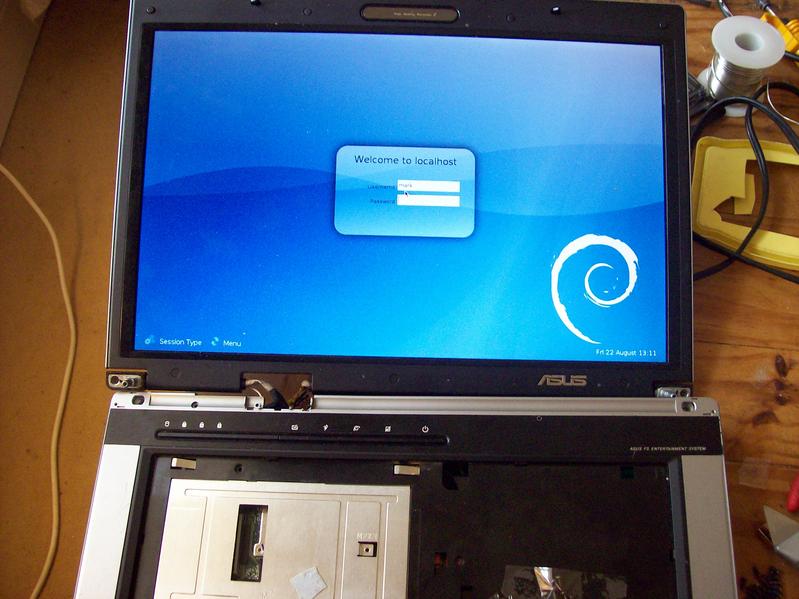
A Quick test to make sure the laptop still boots up. It didn't at first, but I've seen this with other laptops in the past when you take them to bits, I think if the bios gets reset, or they're without battery for long periods of time, they will sit around for a minute or so before they let you turn it on.
It was also at this point I noticed the wifi wasn't working. Stripping the laptop down again was when I discovered the white and green wires of the cable to the wifi card had been crossed over (doh!)
After correcting the problems and re-testing, everything was tucked nicely away, and held in place with a little bit of hot-melt glue
Behold! It's not bricked!
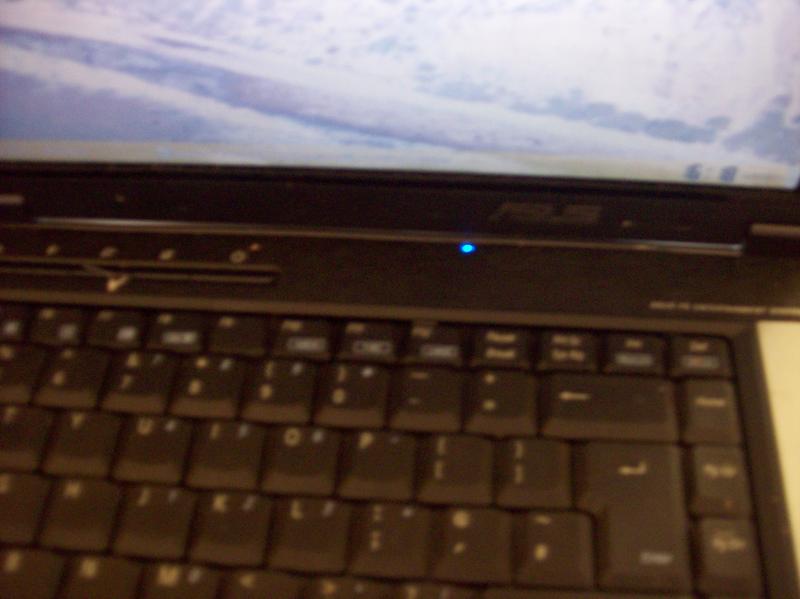
Here's the new wifi activity light.
So there we have it, by sacraficing one of my usb sockets I now have an internal usb wireless card that works under debian (yay) and 3 internal usb slots free for future expansion. I have a usb bluetooth adapter i'd like to try and put in the laptop as well if I can find the space, I would not be happy about having this on all the time however, so will need to check the usb specs about how the best way to turn devices on/off works. There may be space above the screen to install this.
The wireless keyboard/mouse adapter is a bit trickier since its footprint is rather large, somehow I will figure out how to squeeze it in there.